My Recent Posts

Tuesday, September 30, 2014

Project Parade #12

Welcome to Another Project Parade!!  
Come visit us every Tuesday night at 10 pm for an amazing link party!!  Last weeks links were amazing as usual!  I can't wait to see what you all come up with this week!

We are so excited to have you!!


Remember to link up early for the chance to be one of our featured bloggers of the week!!
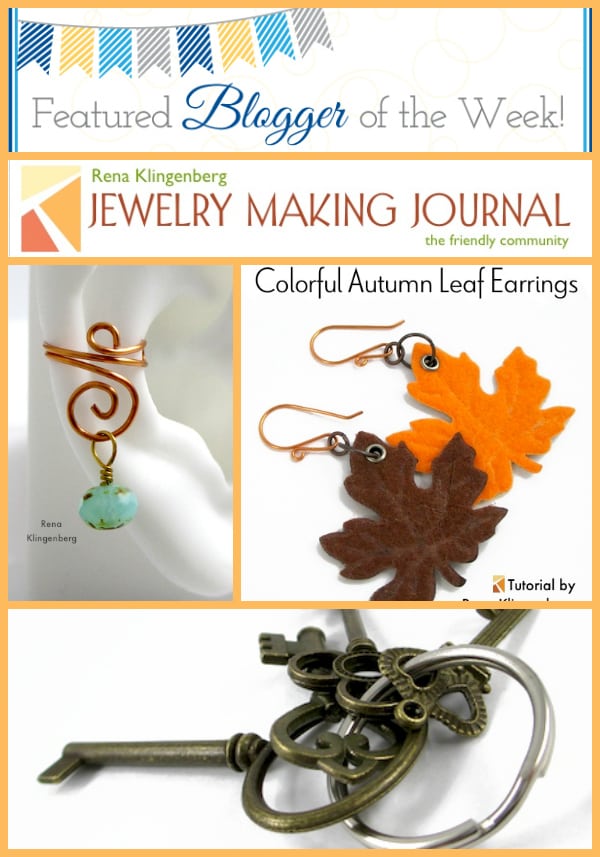
featured_930


Rules of the party:

Please be sure to grab our button and post it on your site!
Be sure to visit at least 2 other links!
No givaways, shops, or other linky parties are to be posted!
Have Fun!!

Don't forget to  grab our Button!
The Life of a Craft Crazed Mom

If you were our featured blog of the week, don't forget to grab a featured button!
The Life of a Craft Crazed Mom

Also, don't forget to follow along on our 
Project Parade Pinterest Board!


Check out all of our favorite pins here!

Party On!!
Sunday, September 28, 2014

Girl's Pumpkin Coin Purse

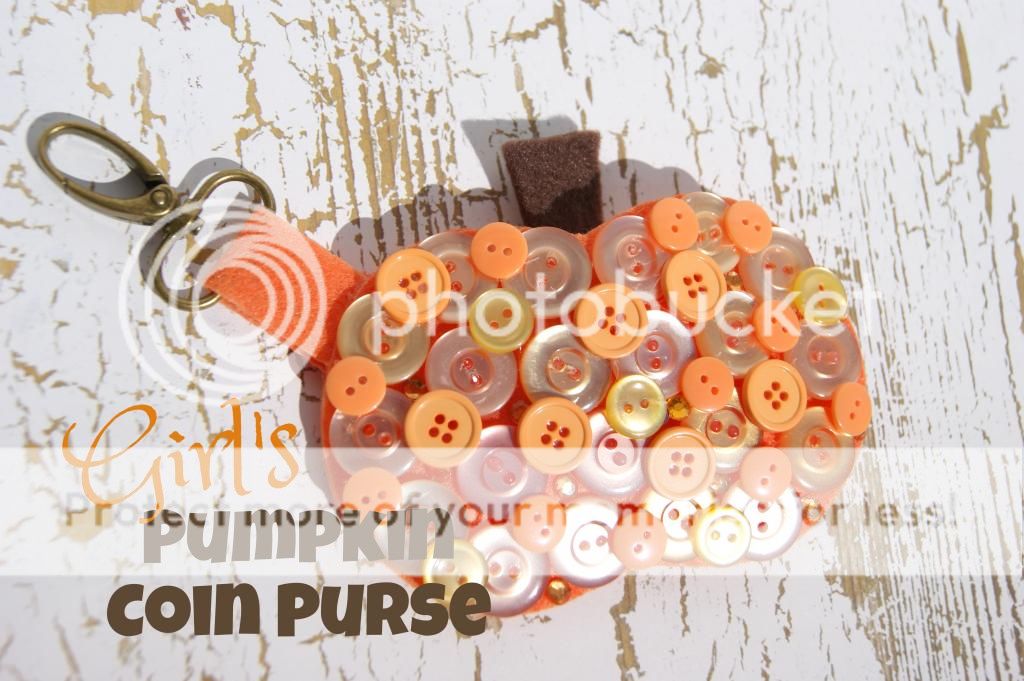
My girls have a serious purse fetish.  You name it, tote bags, hand bags, coin purses, so I thought why not make them one for the holidays.  Having all of these orange buttons, I thought I'd use some of them up!  The girls loved it and can't wait to use their new pumpkin coin purse.
Girl's Pumpkin Coin Purse

 What you'll need:
orange and brown felt
orange buttons
metal clasp
 Start by cutting two pieces of your orange felt in the shape of a pumpkin.  Cut a strip of the orange felt about 1/2 inch by 3 inches long.  Next, cut your brown felt in the shape of the stem.  With your brown stem and orange strip (folded in half around your metal clasp) pined into place, sew around the edges, leaving the top open.  Now that your coin purse is all sewn together, start glueing your buttons on.  I used hot glue, which is easy because of the quick dry time.  Starting with one layer and filling in the spaces with a second layer on top.  With a few tiny spots still open, I filled them in with orange rhinestones.  My girls love any sort of bling!!  As far as a closure for the coin purse, I used an adhesive velcro.  I did put a drop of fabric glue to make it a little more secure.  I'm sure your daughter would love one as well.  Give it a try!!


Friday, September 26, 2014

Pumpkin Oatmeal Cookies

Hi, I'm Vanessa from DIY180 I am happy to be here today at "The Life Of A Craft Crazed Mom".  My blog is about home decor, make overs, DIY projects and cooking yummy food for my family. Today, I am going to share with you one of my kids favorite recipes. These cookies are so chewy and wholesome and its an easier recipe, so your kids can help you make them.

Pumpkin Oatmeal Cookies
This recipe is super easy. You need two bowls, one for wet and one for dry then add the wet to the dry and mix. Easy!

Ingredients: 

1 cup all-purpose flour
1 teaspoon ground cinnamon
1/2 teaspoon salt
1/2 teaspoon ground nutmeg
1/4 teaspoon baking soda
1/4 teaspoon baking power
1 1/2 cups packed light brown sugar
1/2 cup of butter softened
1 egg
1 teaspoon vanilla
1/2 cup solid-pack pumpkin
2 1/2 cups uncooked old-fashioned oats
1 cup of dried raisins

1. Preheat the oven to 350 degrees. Lightly oil cookie sheets or you can line with parchment paper.
2. Sift the flour, cinnamon, salt, nutmeg, baking soda and baking power into a medium bowl.
3. Beat the brown sugar and butter on medium speed for 5 minutes or until fluffy.
4. Beat in the egg and vanilla till blended. Next add the pumpkin and beat on low till blended.
5. Take flour mixture and beat into the wet ingredients till blended. Then add the oats and mix well.
(FYI, the last few times I made these cookie I replace the old fashioned oats for 1 cup of granola cereal and the rest I used rolled oats and added to my mixture. It gives the cookies a chewy, crunchy taste. I have made the cookies with old fashioned oats and they are yummy too : ).
6. Stir in the raisins.
7. Drop the dough by the tablespoons 2 inches apart on the cookie sheet and bake for about 15 minutes and they are golden brown. Let the cookies sit on the cookie sheet for 2 minutes before transferring them to a wire rack. 

These lovelies are my favorite and I hope they become your as well!
Enjoy your yummy cookies with a tall glass of cold milk! I love being here today and thank you Mellisa for having me! 

Hugs,

Vanessa

Wednesday, September 24, 2014

Fall Twig Monogram

Fall is just around the corner and I was in need of a new decoration for my front door.   As I was trimming down one of my bushes I decided to keep all of the remaining branches to try to come up with a project.  I'm so glad I did, they worked perfect for creating this fall twig monogram for my front door!!  You may have noticed before, I'm a HUGE fan of anything monogrammed!!
Fall Twig Monogram

You like?
The process of making this was so simple and honestly free!!  Can you believe it?  Yes, FREE!!
Start out by cutting your letter of choice out of cardboard.  Next, go out and find your twigs.  After you have your twigs, take one at a time and hold it up to find the appropriate length you need to cover your cardboard.  Use your pruning clippers to cut it off.  Use hot glue to attach it to your cardboard.  Continue this process until the whole thing is covered.  After I was done, I felt it needed a little more depth so I added a second layer.   When it's complete, add a few fabric or silk flowers, a pumpkin, or maybe some wheat?  What ever you want to dress it up a little!  Now how simple was that?  And yes, at no cost at all!!

Tuesday, September 23, 2014

Project Parade #11

It's Time For Project Parade!!  
Visit us every Tuesday night at 10 pm for an amazing link party!!  I was so impressed with all of last weeks links!  I can't wait to see what you have to share this week!


Here's what I was up to this week!

Remember to link up early for the chance to be one of our featured bloggers of the week!!
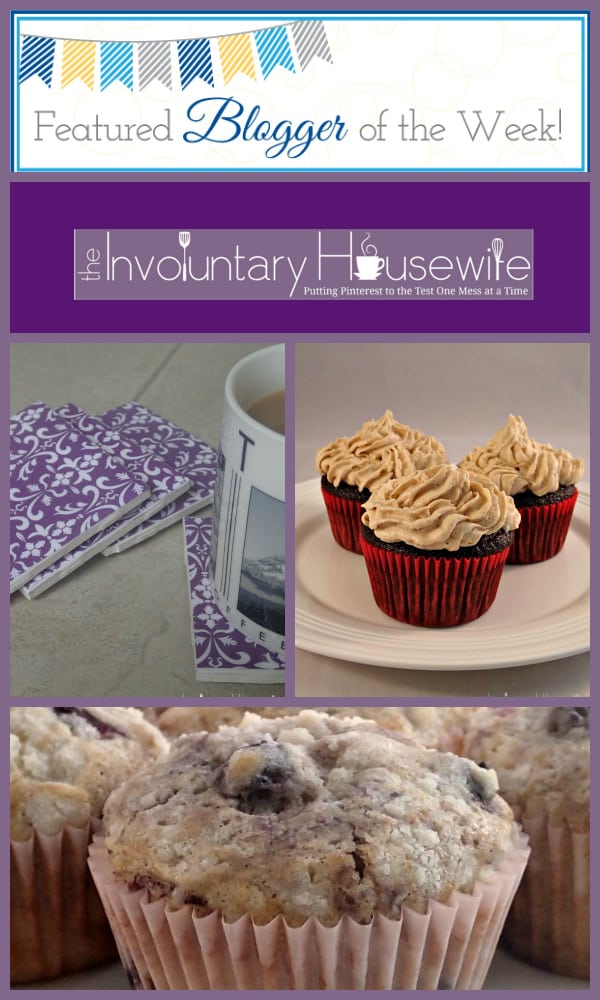
Involuntary_Feature

Here were a few of my favorite links from last week!!
Rules of the party:

Please be sure to grab our button and post it on your site!
Be sure to visit at least 2 other links!
No givaways, shops, or other linky parties are to be posted!
Have Fun!!

Don't forget to  grab our Button!
The Life of a Craft Crazed Mom

If you were our featured blog of the week, don't forget to grab a featured button!
The Life of a Craft Crazed Mom

Also, don't forget to follow along on our 
Project Parade Pinterest Board!


Check out all of our favorite pins here!

Party On!!
Related Posts Plugin for WordPress, Blogger...

Follow by Email

Follow Me On

Loading...

Total Pageviews

Check out all of my pallets!

Google+ Followers

My Etsy Shop

My Latest Pins!

' $(e).html(html); //correct href for images so they point to Pinterest $(function() { $('.rssFeed a').each(function() { var href = $(this).attr('href'); $(this).attr('href', 'https://www.pinterest.com' + href); $('.rssFeed img').attr('nopin','nopin'); }); }); }; })(jQuery); })(jQuery);

Where I Contribute

This Silly Girl's Life

Grab My Button